Shooting Food with Samyang
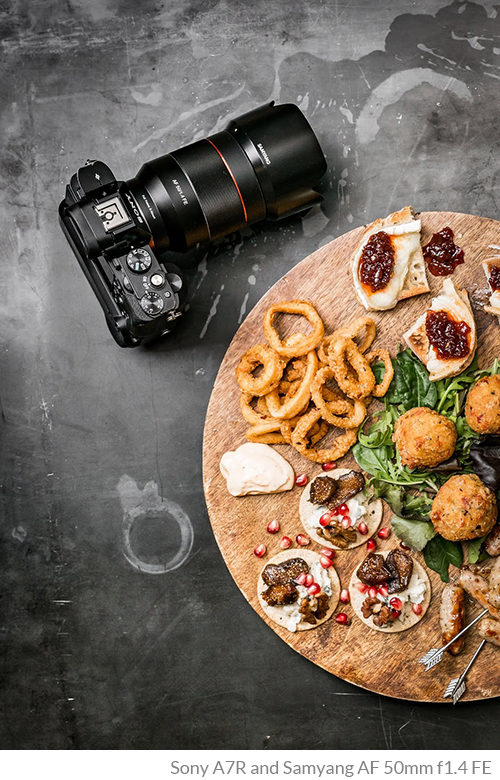
Over the last few years I have developed my skills and focused (excuse the pun) more on food photography as I regularly shoot for a host of clients throughout the UK including restaurant chains Wildwood and Dim T amongst others. Despite being a terribly fastidious eater, shooting food is my favourite photography discipline. I love the detail, colour and texture that each dish can offer and the challenges of photographing them at the right angle with the correct lighting, camera/lens combination and settings.
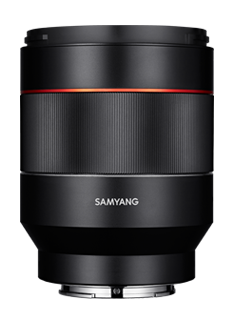
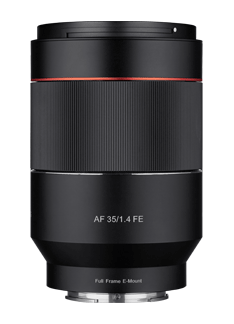
I have recently started to rely more on my range of Samyang lenses to get the images the clients need. My favourite Samyang lenses that I regularly use on food shoots are the AF 35mm f1.4 FE and the AF 50mm f1.4 FE which I use on my Sony A7R. I also use a 90mm macro lens for some close up images of the food but I would love to replace this lens with a Samyang macro lens at some point. Perhaps Samyang will release an AF version of their 100mm macro lens one day. Who knows?
The reason why I like to shoot with Samyang's AF 50mm f1.4 FE and AF 35mm f1.4 FE is that these lenses offer great sharpness with a beautiful fall-off from the point of focus when used at a wide open aperture. With a fast aperture you can achieve a shallow depth of field which can help isolate a particular item in the image or lead the viewer's eye to a specific part of the dish.
Food photography Essentials
● Camera body - Pretty obvious. I shoot with a Sony A7R. Yes, it's a few years old but it gets the job done for me and produces stunning, detailed images with a fairly high 36 mega pixel resolution.
● Lenses - Again stating the obvious. You can get reasonable images from a kit lens but they won't always offer the best image quality. Invest in some good lenses like the Samyang AF 50mm f1.4 FE or the Samyang 100mm Macro. These lenses are capable of a wider maximum aperture than kit lenses so will be able to shoot with a shallower depth of field. These lenses will be sharper, resolve the details a lot better and give you better quality images.
Tripod - having the ability to have a slower shutter speed but keeping the ISO down to a minimum is very critical when shooting food. You want your images to be sharp and full of detail.
● Shutter Remote/Trigger - with your camera mounted on a tripod you'll need a remote to trigger the camera. Using your finger on the shutter button can cause vibrations in the camera which will then make your image blurry. The slightest movement can be picked up by the camera so you really want to minimise this. You could set your camera on a 2 second delay (or whatever your camera is capable of) but this just wastes time when you could just use a shutter remote.
● Lighting - I use a mixture of ambient/natural light plus a studio strobe with a softbox. I have shot food shoots with just natural light with good results but as I travel to different venues all the time to shoot I can't rely on there being a perfect setup next to a window every time. The studio strobe with softbox light modifier provides a lovely soft light which is perfect for food photography. It's also possible to use a speedlight mounted atop your camera and bounce the light off the ceiling. It all depends on the colour of the ceiling though. A white ceiling is perfect as it won't cast any colours onto your subject.
● Props - Don't underestimate the importance of setting the scene in your image. Placing props that help tell the story of what's in the food gives context and makes the image so much more interesting.
Here's some of my images that I've shot for various different clients using Samyang lenses. The lens used is labelled underneath each image.




.jpg)